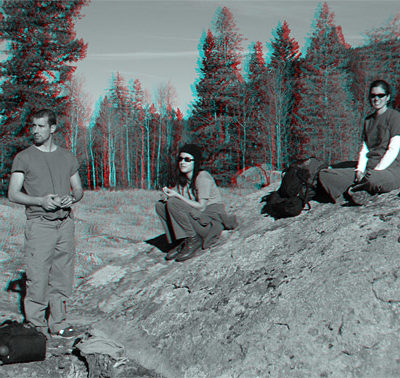
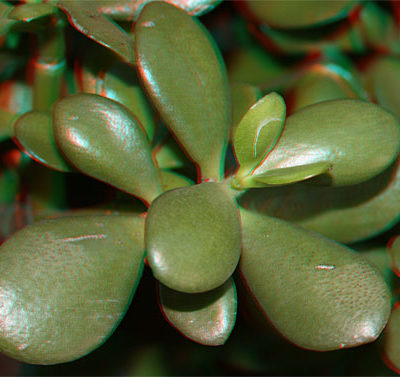
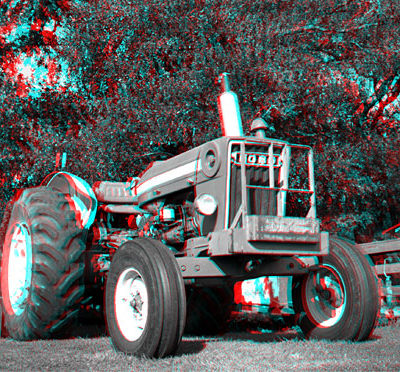
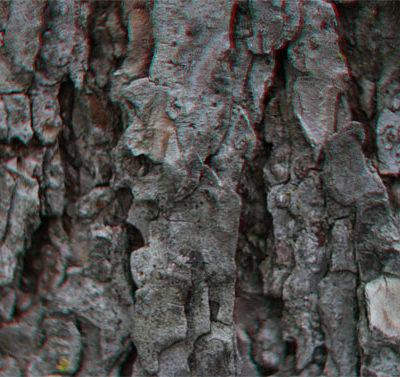
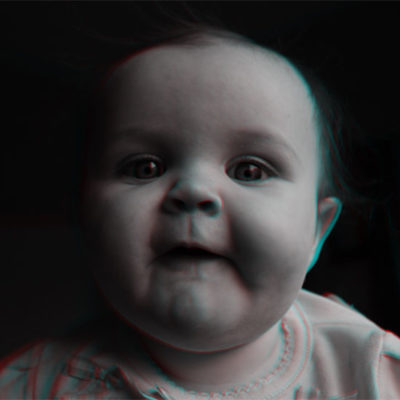
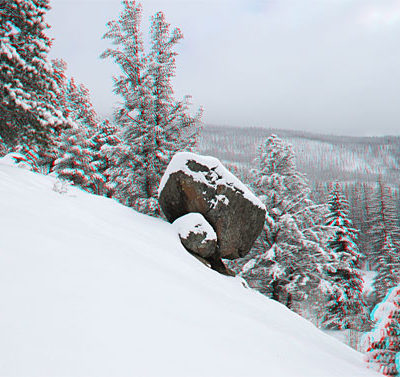
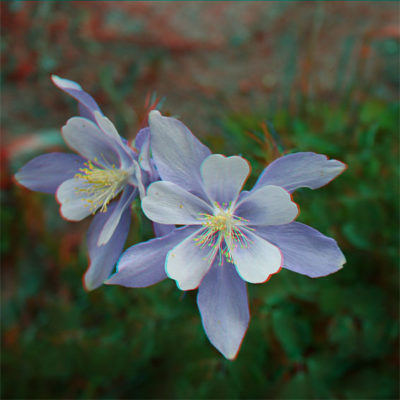
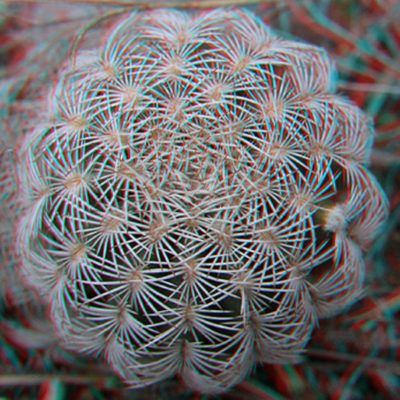
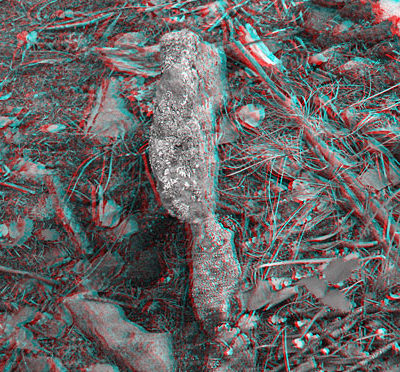
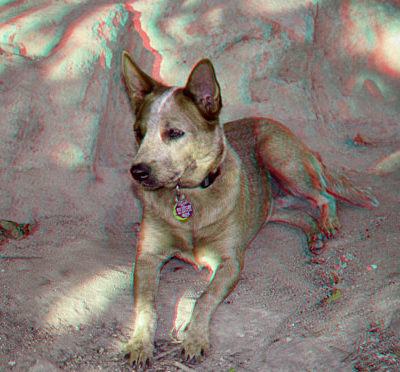
TO VIEW THE 3D EFFECT, YOU MUST HAVE THE RED/BLUE (anaglyph) 3D GLASSES ON.
I’ve been playing around with 3D or Sterescopic photography for a few years now. My first exposure to the method of creating stereoscopic images was through my friend Marlin Peterson. He is now in training to be a scientific illustrator. Marlin also travels the world, with his partner Christine Bosa, and they take stereoscopic photographs of the most amazing landscapes, bugs, peoples faces, etc… They have a slide-show for hire, with several different shows. Check them out at 3Dslideshows.com.
When I first tried to make a 3D image, I looked up how-to on the internet. I don’t remember where I found the instructions, but they we’re not all that complete. I put the camera on a bean bag pod thing and moved it along a table. I took a shot of my bikes from my desk. I was not really aligning them all that well and the effect was apparent, but not very strong. I remembered Marlin mentioned a rule of a 30 to 1 aspect ratio. From there I began experimenting with hand held shots and gaining a sense of the distance between shots.
Most of these images are from hand held shots. Meaning I took two images (without a tripod) and tried my best to keep them aligned. Marlin let me borrow a slide bar, but I think only the tractor image was created using the slide-bar. I will add more soon.
